A few pictures and some notes on the polishing tools which we've used for the 240mm F/6 mirror for the Newtonian telescope we are making.
This is the full-size pitch-lap on top of the mirror. It's important to have good contact between the tool and the mirror at all times, so the pitch is pressed to conform to the mirror before each polishing sessions. This can be done either at room temperature, called cold-pressing, or by first heating the pitch-lap and the mirror in e.g. hot water, which is called hot-pressing.
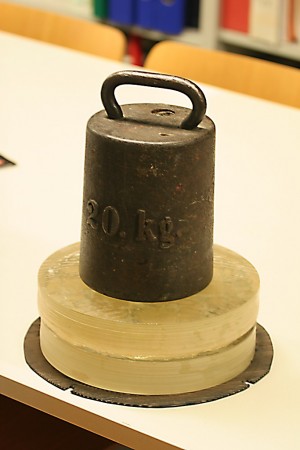
We've usually hot-pressed the lap just after pouring it, and each time we have had to re-open the channels. The best way to open the channels we've found is with a saw - seems to work nicer and cleaner than with a sharp knife. When the lap has good contact with the mirror only cold-pressing is required before each polishing session. The image shows cold-pressing with a 20 kg weight on top of the tool, perhaps a bit on the heavy side.
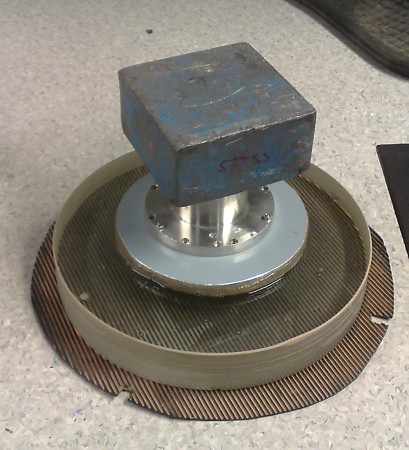
This is the smaller weight, about 5.5 kg, we use on top of the tool when polishing. There's a significant difference in the speed of polishing with and without this weight. At first we did about 10 hours of polishing without a weight, but I'm sure this time could have been cut in half by use of this weight (or something slightly heavier). Ideally the weight should be evenly distributed over the mirror/tool, a steel disk of the same diameter would be good. But we haven't noticed any significant distortion of the mirror or tool with this smaller lead-weight.

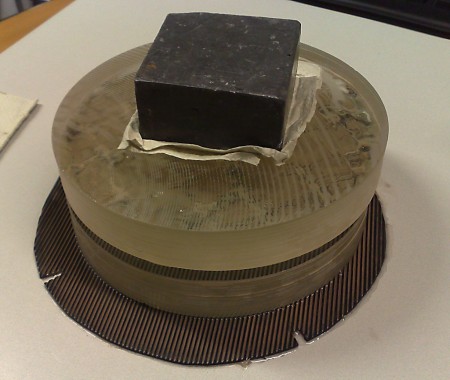
When figuring the mirror from a sphere to a paraboloid this smaller 60% tool is used. Here it's cold-pressed against the mirror. Since this is an F/6 mirror the correct paraboloid shape is very close to the spherical shape that the mirror has at the end of polishing. We've found about 50 minutes of work with this tool is enough.

