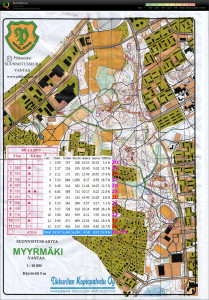
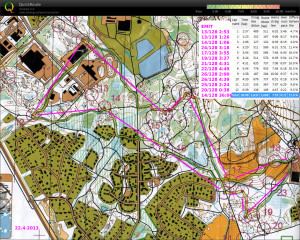
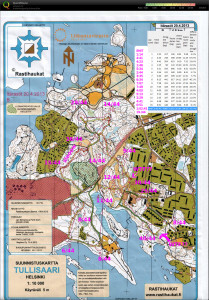
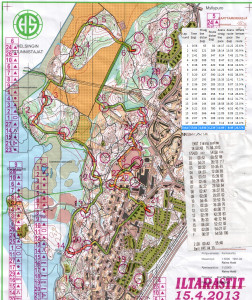
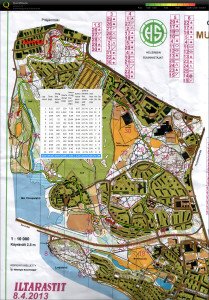
1.5.2013 Myrbacka. Overall very good orienteering on a fairly easy course.
#3 lost a few seconds looking for the control at a big stone when in fact it was a hill
#9 should have found a quicker/better route on top of the hill at #5
#11 slow out of #10 since I did not find the path immediately
Crimp Clamp Tool
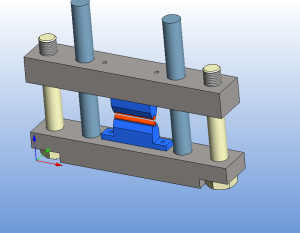
I've been cranking out parts for this Crimp-Clamp-Tool over the past few days:
(design inspired by Lindsay Wilson's site, which has more information on the seal-off technique)
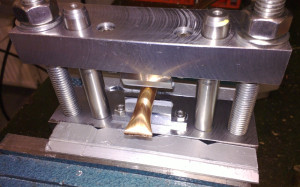
It's used to permanently seal vacuum-systems that are pumped through a ~10 mm diameter copper tube. The jaws of the tool compress the tube and "cold-weld" the tube walls together which seals the tube.
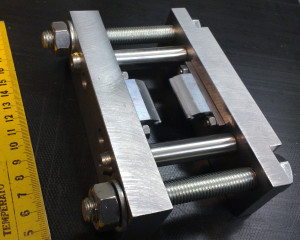
The top and bottom clamps are milled from 20x40 mm steel bar. The bottom clamp has slots that secure two M12x100 bolts in place, and 6mm holes for M6 screws that hold half inch Thorlabs rods that guide the top and bottom clamps. The top clamp has 12mm holes for the bolts, and half inch holes that I opened up with a boring head so the Thorlabs rods (about 12.66 mm diameter) fit accurately.
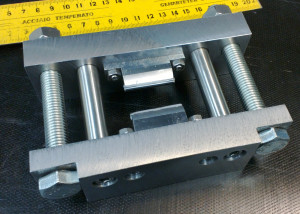
The jaws are 3.125 mm diameter carbide rods (the shaft from old used PCB milling bits). They are held in a V-groove on a rod-holder part that bolts to the top/bottom clamps with M5 screws. I glued the rods to the V-groove with Loctite Hysol.
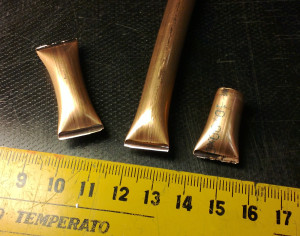
Here's how the crimped tubes look like. The first test resulted in a jagged edge, while the second test produced a nice straight cut. We will test how vacuum-tight these are with a Helium sniffer later.
PDF drawings:
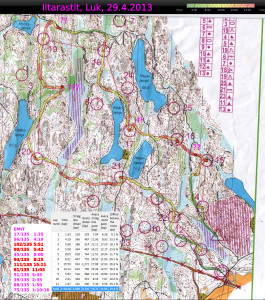
Iltarastit, Luk
#15-#16 a long pause to read the map on top of the first hill
#16-#17 a small correction to the south just before the control
#18 had a reasonable plan and executed it OK.
#19 again a long pause to read the map
#20 found the swamp instead of the lake 🙁 didn't have a good plan when leaving #19
#21 again poor planning running up/down hills instead of around them.
Itärastit, Nybondas, Nordsjö
Out of 12 controls I did OK on five: #1, #5,#6,#7 and #11. All of the rest were a struggle.
Uutela on wikipedia.
Iltarastit, Svedängen
Itärastit, Degerö
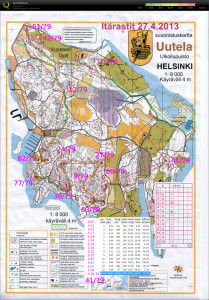
A fairly easy course with lots of running along roads and paths.
Right at the beginning on #2 I searched for it on the wrong hill - on the wrong side of the road/path ?!?
#3-#4-#5-#6-#7 nothing to report. Running speed is enough for top-10 placings 🙂
#8 the GPS-path looks ok but speed was slow.
#9 right after #8 the compass seemed to just rotate around and I wasn't confident enough to run by the map alone. Very slow and shaky going to #9.
#10-#11-#12 more fitness required to keep up speed in the forest and uphills
#13 again an easier control and better speed
#14 lost concentration and headed in the wrong direction. Lots of open areas with freshly cut trees (compare to 2012 map)- hard to tell how well the map corresponded to reality here.
A White Rabbit test
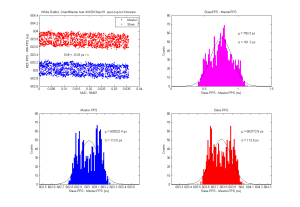
Update3: Here's what happens if you disconnect the master from the switch. The slave clock runs off on its own, with about 5ppm drift compared to the reference clock. Once the fiber is connected again it takes a few seconds to re-sync and lock on to the master clock.
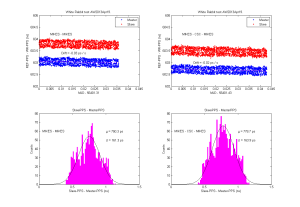
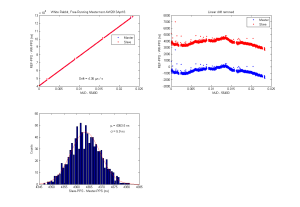
Update2: two different measurements, on the left with a short 2m fiber, and on the right with a few hundred meters of fiber to a WR-Switch, and a few hundred meters back.
Update: an improved measurement now shows some promise:
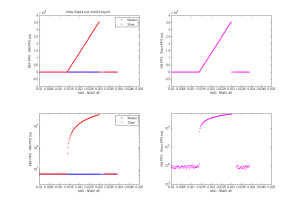
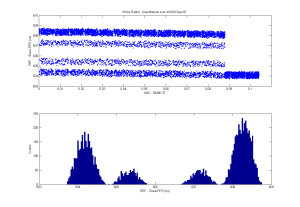
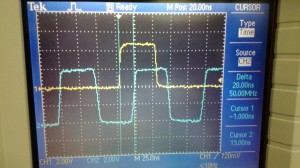
Testing White Rabbit at work. These are fancy network-cards connected by optical fiber which allow synchronization between the cards at better than 1 nanosecond level. My first results are a bit strange:
This is in "grandmaster" mode where we input a 1 PPS and a 10 MHz signal to one of the cards:
A second result in "free-running" master mode:
Iltarastit, Herttonäs
Iltarastit, Tali
Still lots of snow on the ground, and a temperature just barely above freezing this evening.
The first red (slow) bit between #19 and #20 could not be avoided - just too much snow for running. A bigger mistake on the #11-#12 leg where clearly the better choice after the bridge would have been to run up the hill. Instead I continued north along the stream looking for the small and steep trail up to the control - which was of course completely covered in snow and invisible. Having not learnt much from this I then sort of repeated the same mistake on #25-#24 where my route is direct, but very slow because of snow up to knee-level or above. A small U-turn on #23-#15, but it probably did not cost much in terms of time lost.
My timing-receipt from the EMIT-system shows strange split-times. We'll see if those are corrected in the final results.
Strontium Blues
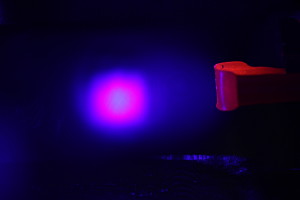
We've been playing with a blue laser at 461 nm in the lab lately. If tuned to just the right frequency (wavelength) neutral Strontium atoms will strongly absorb the laser light. Shortly (5 nanoseconds) after that the atoms emit at 461nm also, allowing us to see them:
The atoms originate from a hot "oven" at the right. It glows dark red because it's heated by driving a 5 A to 7 A current through it. The cloud of absorbing atoms glows at 461nm in the centre of the picture.
We can scan the laser frequency by adjusting the current through the diode-laser that produces the light. If the frequency is too low or too high we'll see nothing as the light will just pass through the cloud of atoms without interacting. On each side of the correct absorption frequency we'll see different parts of the atom cloud light up. This happens because the atoms stream out of the oven in slightly different directions, so they experience a different Doppler shift and will react to light with a wavelength slightly to the blue or red from the centre of the absorption-line at 461nm.
When slowly scanning the laser frequency over the absorption-line we got these nice videos. One with a narrow beam and one where the laser beam was expanded.
These were shot with a Canon DSLR so be sure to view them in HD on youtube!
