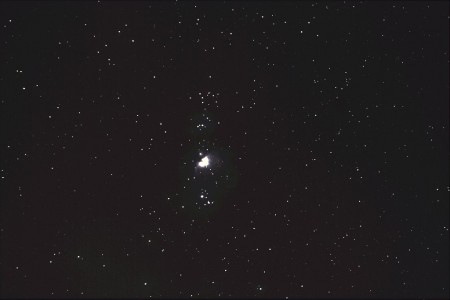
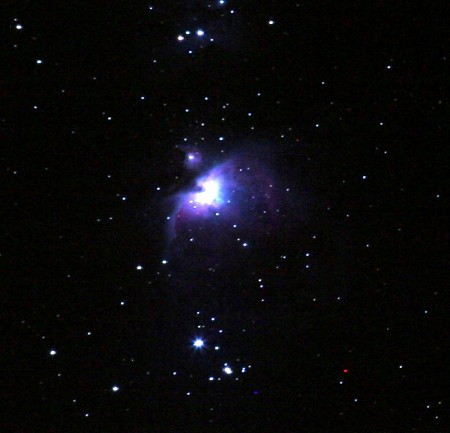
Mirror mount

The mirror is now parabolized to better than 1/18-wave RMS, so we are assembling the telescope to star-test it prior aluminizing the mirror. If and when everything looks OK through the scope we will send the mirror to be aluminized.

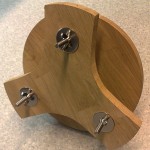
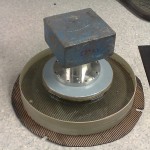
We came up with this mirror holder out of ca 20mm thick oak board. There are three M8 screws that support the mirror cell. Springs push it upwards, and the wing-nuts used for collimation pull down. It's all going to be attached to the wooden tube by three L-brackets.

Ursa telescope meeting

On Saturday I presented (slides here) our mirror-making and Bath-interferometry project at the annual meeting of the telescope&equipment division of URSA (the finnish amateur astronomy association). The program included talks by Petri Kehusmaa on supernova-hunting and J-P Metsävainio on image-processing and creating 3D stereo images.

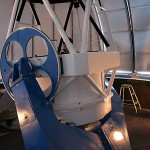
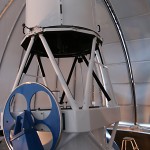
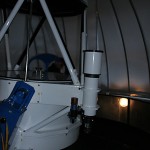
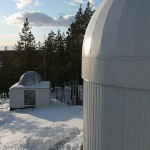
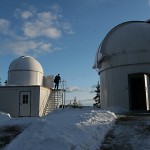
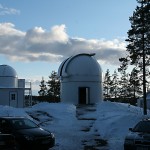
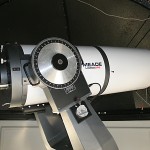
The event was held at Tähtikallio obsevatory in Artjärvi, a 90 minutes drive northeast from Helsinki. The site features three permanent domes, two of which have big telescopes installed in them. The smaller one is a 16-inch (406 mm) F/10 Meade LX200 (Schmidt-Cassegrain), and the big one is an Astrofox 36-inch (914 mm) folded Newtonian. Between the clouds and a lot of drift-alignment I managed to catch some nice views of Saturn and M13 through both of these scopes.

See also

Polishing tools

A few pictures and some notes on the polishing tools which we've used for the 240mm F/6 mirror for the Newtonian telescope we are making.

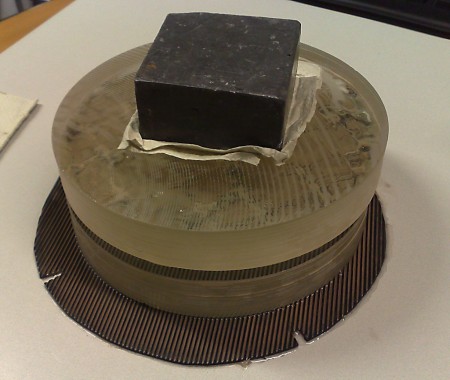
This is the full-size pitch-lap on top of the mirror. It's important to have good contact between the tool and the mirror at all times, so the pitch is pressed to conform to the mirror before each polishing sessions. This can be done either at room temperature, called cold-pressing, or by first heating the pitch-lap and the mirror in e.g. hot water, which is called hot-pressing.

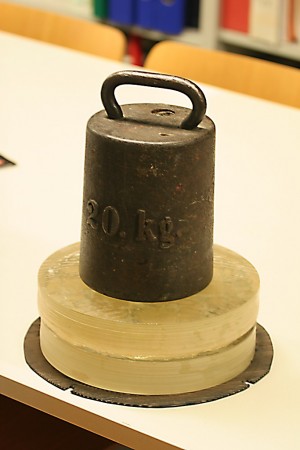
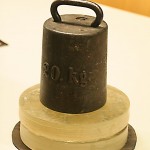
We've usually hot-pressed the lap just after pouring it, and each time we have had to re-open the channels. The best way to open the channels we've found is with a saw - seems to work nicer and cleaner than with a sharp knife. When the lap has good contact with the mirror only cold-pressing is required before each polishing session. The image shows cold-pressing with a 20 kg weight on top of the tool, perhaps a bit on the heavy side.

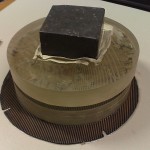
This is the smaller weight, about 5.5 kg, we use on top of the tool when polishing. There's a significant difference in the speed of polishing with and without this weight. At first we did about 10 hours of polishing without a weight, but I'm sure this time could have been cut in half by use of this weight (or something slightly heavier). Ideally the weight should be evenly distributed over the mirror/tool, a steel disk of the same diameter would be good. But we haven't noticed any significant distortion of the mirror or tool with this smaller lead-weight.


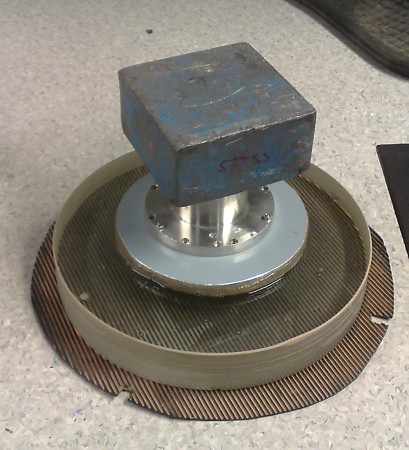
When figuring the mirror from a sphere to a paraboloid this smaller 60% tool is used. Here it's cold-pressed against the mirror. Since this is an F/6 mirror the correct paraboloid shape is very close to the spherical shape that the mirror has at the end of polishing. We've found about 50 minutes of work with this tool is enough.

Figuring

After a few (2-3) more hours of polishing with the full-size lap the mirror was fully polished. No holes or marks can be seen in the mirror surface with an upside-down 25mm eyepiece. Final polishing progressed rapidly when we used a weight (4-6 kg) on top of the mirror/tool.

The following task is called figuring, where the surface is taken from a sphere to a praboloid. Following advice from experienced mirror makers we are doing this with a smaller pitch-lap which is about 60% of the diameter of the mirror. We're using W-shaped strokes mostly in the middle of the mirror.

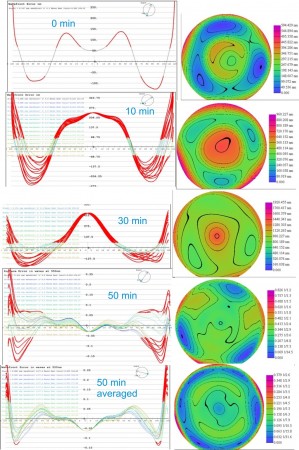
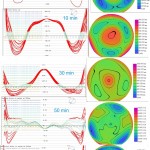
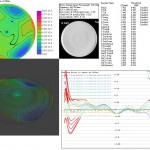
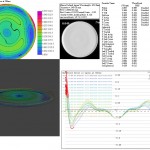
This picture shows the progress over a few 10 min or 20 min figuring sessions, with measurements taken after each session.

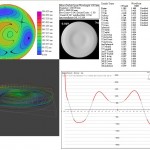
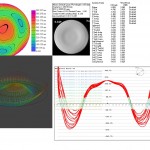
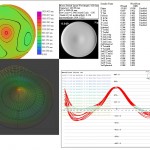
The main difference between a sphere and a praboloid is evident. The paraboloid is deeper in the middle, so the error plots above show a 'hill' at the centre which needs to be polished down. The top four measurements are single measurements and show a significant amount of distortion with three lobes at 120 degrees apart. I'm not sure where this originates yet. The final measurement at the bottom is an averaged one where we turned the mirror 90 degrees between each measurement, and shows little or no hills or valleys at 120 degrees apart. We are now at 1/17 wave rms error, which seems OK. The mirror is still too high at the very edge, along an 8mm wide strip in from the edge, which we will try to correct tomorrow.

First Autoguiding test

When photographing the sky using exposures of a minute or more, to avoid star-trails, it's important that the mount tracks the movement of the stars (or rather the movement of the earth!) very accurately. In practice it's very hard to build a mount tha tracks to the required 1" (one arc-second) or better precision. Some new mounts that use direct-drive motors and accurate (expensive!) encoders are probably up to this, but they cost 15 keur or more. All reasonably priced mounts use worm-gears, and show more or less pointing error. With an expensive (3-5 keur) mount it might be possible to image unguided for 1 or 2 minutes, but all worm-gear driven mounts show pointing errors during long (say 10 min) exposures.

So a technique called auto-guiding is used. In addition to the main camera you are imaging with you have another camera that takes pictures continuously, a computer analyzes these pictures, and sends commands to the mount to keep the guide-star in the same position on the guide-camera chip. Read more about this from someone who actually knows what he is talking about at Uncle Rod's Astro Blog

If you disable the guide-commands the camera can just track the guide-star, and you can plot a graph of what's called the periodic-error of the mount. This error is due to imperfections in the worm-drive, and on good mounts it can be as low as 10". The error is periodic and repeats on each revolution of the worm-gear, which is every 4-10 minutes on most mounts.

Here are my results from this evening. This is an EQ6 mount which normally doesn't support autoguiding, so I've soldered in the required ST4-connector following these instructions. I'm using a Rubinar 500/5.6 as the guide-scope, and a QHY5 camera. Guiding with PHDGuiding and the results analyzed with PEAS. Keep in mind that these are my first ever autoguiding results, and it was around -13 C outside so I was not keen on repeating the measurement or tuning any parameters. PHDGuiding lost the guide-star towards the very end.

about +60" and -30", that's some error! Compare to the finnish database here, or this french page with a lot of data (will add link when I find it...).

Here's the same run in closed-loop, with guiding commands enabled, and PHDGuiding continuoysly trying to point the mount at the guide-star. A lot better, note how the Y-axis has 10-fold smaller values. Looks like the loop overshoots and 'hunts' for the guide-star, so this might still improve with some tuning.

With my Canon 20D on my imaging scope, an 80mm f=600mm refractor, this field of view calculator gives a sampling of 2.2 arc-seconds/pixel, so as long as the error stays within or at this level there should not be a problem.
Needs Guiding

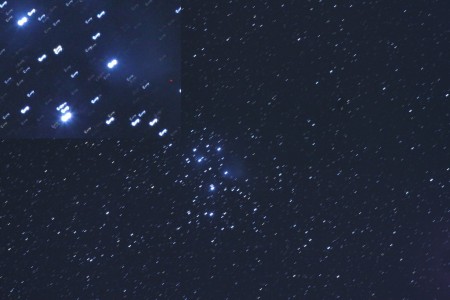
An 8 minute exposure through a 200mm lens. Unguided EQ-6 mount. With this mount and my polar-alignment skills it seems that a 60s exposure is the maximum achievable at 200mm.
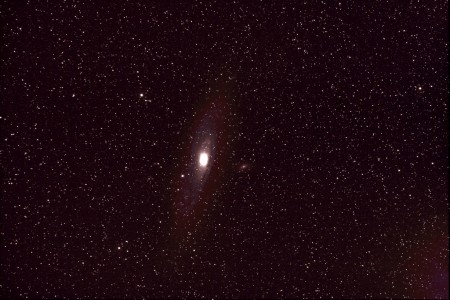
I have a QHY5 guide-camera and a 500/5.6 Rubinar which I plan to use for auto-guiding which will (I hope!) put an end to the squiggly stars.
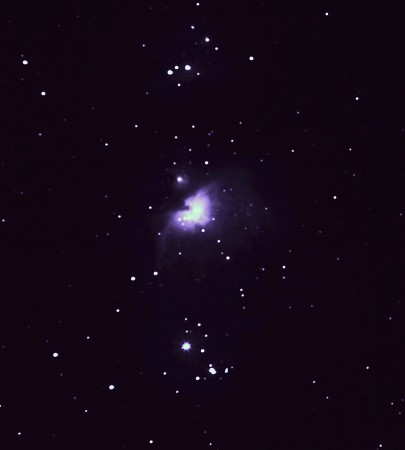
Orion nebula (M42)

It seems like ages since the skies were clear last time. Must be around 2 months I think. Last evening however was good for astrophotography again. My target was the Orion nebula, or M42.

I took 40 sub-exposures, each 60s long, but half of them were out of focus :(, and a couple of the remaining ones had star-trailing due to vibration or me pushing the mount or something. The end result is a stack of 14 images, so 14 x 60s = 14min total exposure time. There is software out there to help with focusing, I'm looking at Nebulosity in particular. A DewNot dew-heater worked really well, no more problems with dew or frost on the lens.

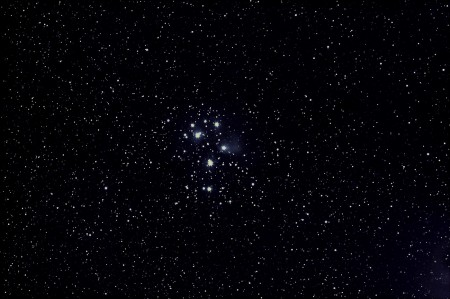
Canon 20D wtih 70-400/4L lens set to 200mm and F/5.6: Unguided EQ-6 mount. Stacked with DeepSkyStacker with 10 dark frames (no flats or bias frames). The image above is a 100% crop, below is the full frame:

This site is about a 35min drive away. It allows exposing for 1-4 minutes at F/5.6. That's almost good enough, if you look at the "why autoguide" slides of Craig Stark's talk (especially the SNR plot at ca 7:20), it's clear that single exposures of a few minutes are required to reach good SNR.

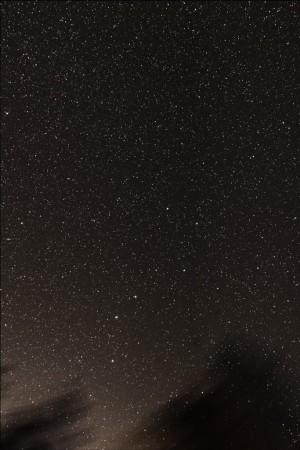
The noise is supposed to be 1/sqrt(14)=3.7-fold lower in the stack above, but I'm not very impressed by how it looks compared to this single 60s frame: