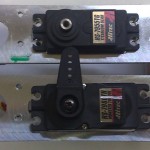
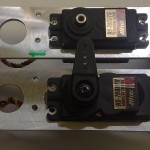
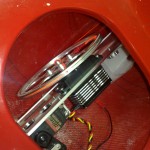
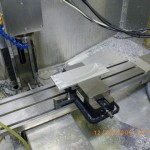
Jari has installed RC-components and built rigs for a Mad Max IOM. Check out the pictures: http://rcyachttech.webs.com/madmaxiomproject.htm
Category: IOM Building
Bulbs
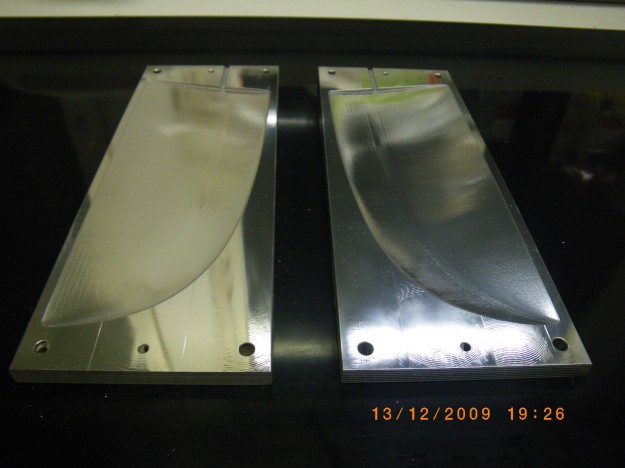
Some IOM bulbs from the new moulds.
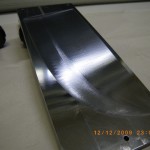
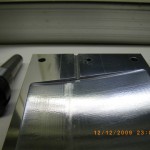
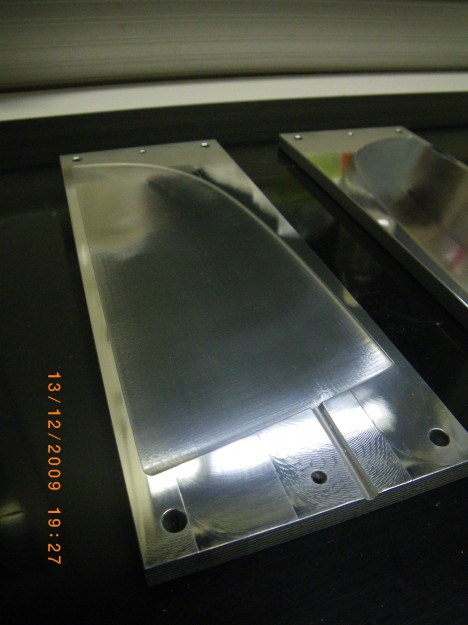
New IOM bulb moulds cnc-machined
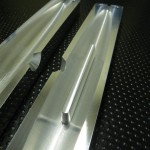
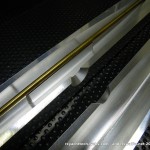
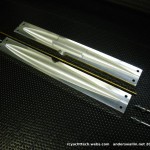
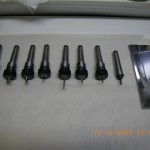
Jari made these new IOM bulb-moulds over the weekend. CNC-milled in aluminium. Circular cross-section with a NACA0010-34 profile (similar to my 2005 design), length ca 360mm. Designed with a central stiffening brass rod. Check out rcyachttech.webs.com for more cnc-machined moulds and parts.
See also casting notes from 2003.
RC Yacht Tech
Jari Immanen now has his own website at http://rcyachttech.webs.com/
Check out the video:
Monster servo mount
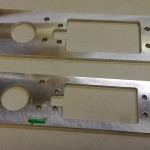
The new high-torque winch servo is 44x22mm instead of the standard 40x20mm, so we made a new radio-plate for it today. The new plate has a bigger cut-out for the new servo, and is slightly wider. The boat will sail again next weekend so we will hear how the new servo works then.
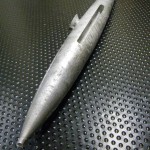
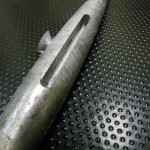
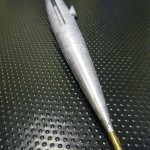
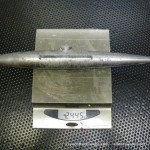
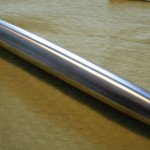
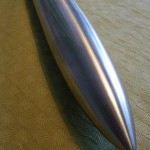
CNC-turned stainless steel IOM bulb
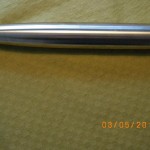
CNC-turned from stainless steel, this is a 400mm long and 38mm diameter IOM keel bulb. A slot will be milled in the middle for the keel fin. Unlike a lead-bulb this one will require no surface filler/sanding/painting. But the density (compared to water) of stainless steel is 8 at most, while lead bulbs can be close to 11 (depending on the lead-alloy), which means the volume of this bulb is slightly larger.
PIKANTO hull Nr 1
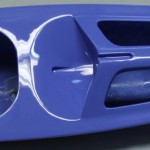
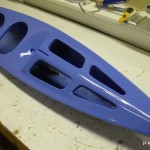
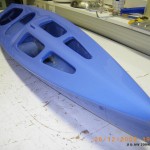
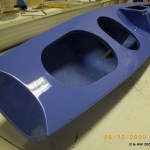
We've moulded the first PIKANTO hull!
This is a bit of a prototype since it's some time since Jari or myself moulded a boat, and also because these are brand new moulds and we have never made a boat in one-go like this before: closed mould with the hull, deck, mast/finbox, and ruddertube all attached in one session. We need a bit of routine and practice to get the whole process of "release-agent > gelcoat > resin/fiber > fin/mastobox > close-mould > seal deck-joint" running smoothly. I am sure by hull nr 5 or so we will have learnt the workflow pretty well 🙂
Having said that, this first prototype hull came out of the mould pretty good. There are some problems with an uneven gelcoat layer, and a few places in the foredeck where there is trapped air between fiber/gelcoat. We're considering either cutting away the rounded flanges on the foredeck, or alternatively moulding the deck from many smaller pieces of fiber that would drape around the challenging shapes better. Anyway we are pretty happy that the boat comes out of the mould with deck attached and fin/mastbox + ruddertube in place. I've been thinking about a glass-fiber rudder-tube moulding also, and there's obviously a possibility to add a support under the foredeck for the jib-attachment point, maybe even the mainsheet post tubing also?
This is with a "home-made" gelcoat made out of laminating resin, colloidal silica, and colour-paste. I'm not sure this is optimal and I remember reading on some RC-airplane forum about using 2-pack (polyurethane? or epoxy?) car-paints as gelcoat. Does anyone have links or experience with that?
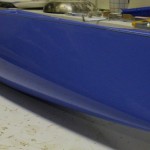
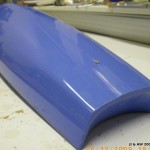
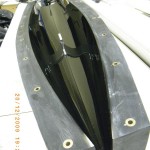
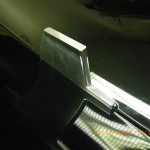
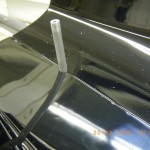
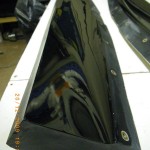
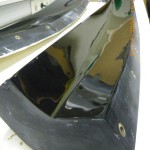
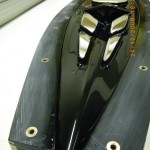
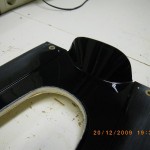
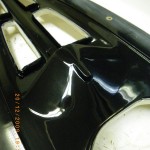
Polished PIKANTO hull mould
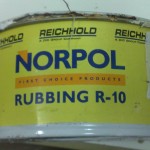
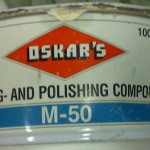
The PIKANTO moulds were polished first with "Oskar’s buffing and polishing compund M-50" and then with "Norpol Rubbing R-10", both from Terpol (www.terpol.fi) in Turku.
Shine mould, shine!
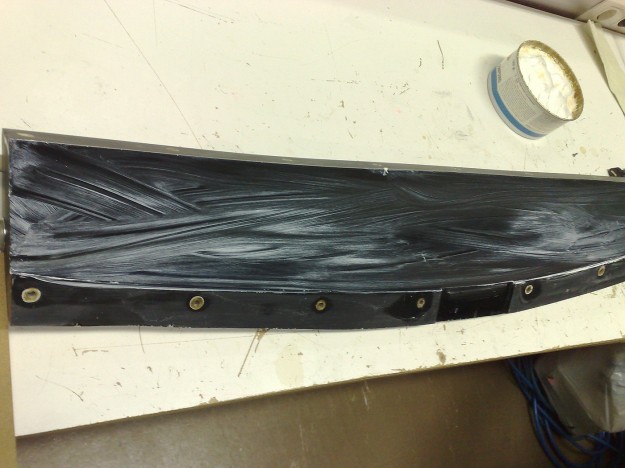
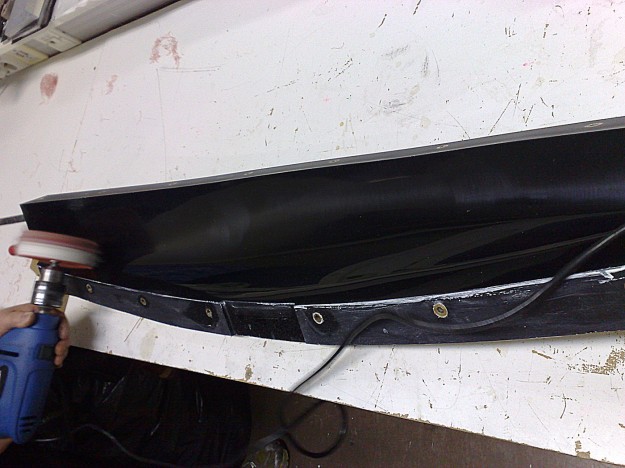
After sanding with 1200-grit and a 10-15um particle-size fine paper it is time for polishing. We have two grades of polishing-compound. These pics show the coarse type which is polished with a spinning soft disk on a power-drill.
After polishing follows release agents: first Frekote and then wax. It's still possible we will mould a prototype hull this year. Stay tuned.
