Is your boat watertight?

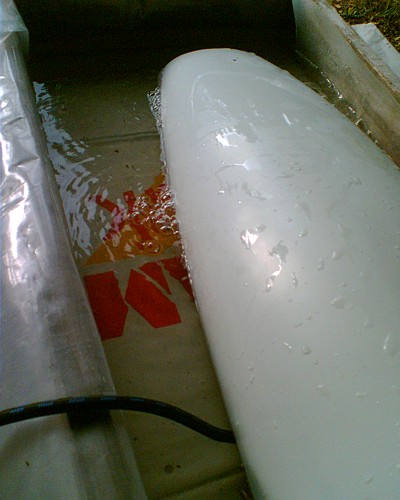
Here's a nice way of finding leaks in the boat. Do it like you would search for a hole in a bicycle inner-tyre: gently pressurize the boat (we use an air-brush compressor with a not too tight fitting tube into the boat), press it underwater or use a water/soap solution on the outside, and look for places where bubbles appear.

Simple and efficient. Also much safer and faster than pouring water in the hull and waiting for it to appear on the outside. Handling a boat with 1-2 litres of water in it is not very easy - don't ask me how I know!

Turns out my boat has a number of cracks along the hull-deck join, and also a small hole at the top of the finbox. These can probably be filled with cyano glue.

KISS IOM Construction

(click image for high-resolution version)

The current Noux Mk2 construction is obviously too difficult to put together. There are lots of separate mouldings that need to be fit and bonded to the hull, lot's of sanding, filling, and painting. So I'm trying to think of a simpler design that would be easier to build. With all the moulds and jigs ready my dream would be to spend one whole day on moulding: hull, deck, fin, rudder, etc. Go home and sleep/do other things while everything cures for a day or two, and then spend the next day bonding together the components. With about two full days of work I would hope to create a ~500 eur kit which can be handed to an intermediate to advanced IOM-skipper which he/she could then complete by adding fittings, radio, and rigs. Is this Utopia?

The Bantock/SailsETC style of construction (Topiko-ish drawing above) simplifies building somewhat. The two halves of the hull (1,2) are moulded separately and then joined. A separate fin/mastbox laminate (3) needs to be bonded into place while the hull is in a jig, to keep everything nice and straight. The foredeck comes 'for free' in the hull moulding process, but the aft deck (4) is a separate moulding. Here I've drawn a recessed flat part for mounting the winch and the servo, and a place for the 65mm RC-pot aft of the main-sheet post.

Then there are small bits and pieces like the rudder tube (5), the tube for the no1 rig (6), and the bow bumper (7).

Sails ETC sells a cheap plastic rudder (R), and some not-so-cheap fins (F). We can make bulbs (B) in lead by casting, or maybe in brass or steel by cnc-turning in the future.

I really feel the challenge is in components 1 through 4, the large mouldings that need to be accurately assembled, and apart from the finbox need to have a nice gelcoat outer finish. With the Topiko-style transom the two hull-halves (1,2) can't be assembled in the hull mould, so a separate hull mould without the inverted transom is needed. This assembly-mould/jig could also have a permanent hole for a dummy-fin that is put in place and aligns the separately moulded fin/mastbox (3). The aft-deck (4) would then be bonded in place with the help of strips of glassfiber plate glued to the underside of the hull-flange.

If I count the building tasks correctly I get something like this:

  1. Mould two hull-halves. (spray mould with gelcoat/paint, apply epoxy+2x125g glassfiber, trim glassfiber to mould-edge)
  2. Mould other components: deck, fin/mastbox, mainsheet-tube, no1-rig-tube, bumper (in silicone)
  3. Wait for everything to cure
  4. Assemble hull-halves in separate jig. bond together. Glue in fin/mastbox, Glue in deck (can this be done simultaneously with finbox?). Glue in rudder tube.
  5. Wait for everything to cure
  6. Finish by adding bits and pieces: open foredeck holes, glue in no1-rig tube, glue in mainsheet-post tube, attach bumper.

That's three tasks separated by curing-time. I'd be interested if anyone has some thoughts on this! Have I overlooked something big? Can this be simplified further?

I know some people have used closed-mould techniques with a pressurized balloon inside to mould complete boats in one go. But as there are no good descriptions of this online I'm not going to pursue that in the near future.
FIN-43 finally sailing!

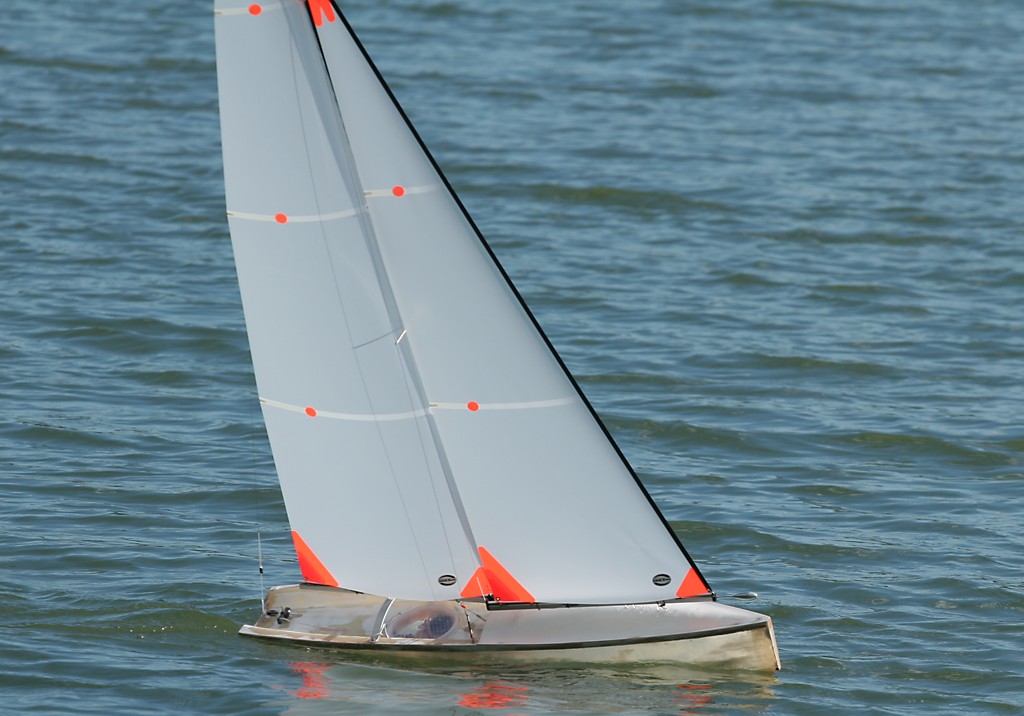
After fitting the sheeting-bridge for the mainsheet and drilling some holes in the booms for the sheet-hooks I was finally able to test sail the new IOM I have been building! It's going to be numbered FIN-43, but I haven't had time for details like sail-numbers or measurement bands yet. You might also notice that I'm missing the bow-bumper. The paint-job is 'Scharmer-style' for the moment...

The main worry with a new boat, besides obvious things like the rudder and sheeting systems working,  is usually water tightness. I observed something like half a table-spoon of water after maybe 20min of sailing in varying no1 rig breeze. The lid probably needs sealing, and a coat or two of paint should seal any microscopic pin-holes left in the hull laminate.

Balance on the beat was surprisingly good, only minor adjustments of the mast position should be necessary to find a good trim. Now I need to put in a lot of practice hours against other boats and in varying conditions to iron out any minor problems and find a good basic trim with all rigs. In addition to the national ranking series we still have two Scandinavian events that should provide some good sailing before the Marseille Worlds in October...

One Noux kit for sale

It looks like we will be sailing the first three Noux Mk2 boats early next month. We have a few extra mouldings lying around that are for sale:


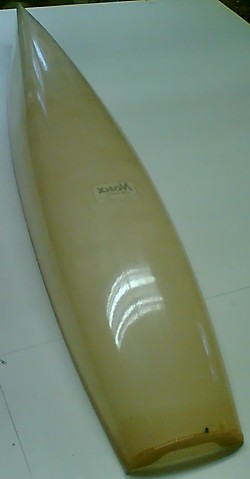
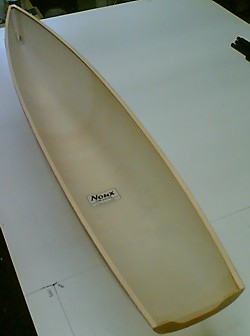
This is the glassfiber hull with some wooden planks glued around the edges (for attaching the deck).


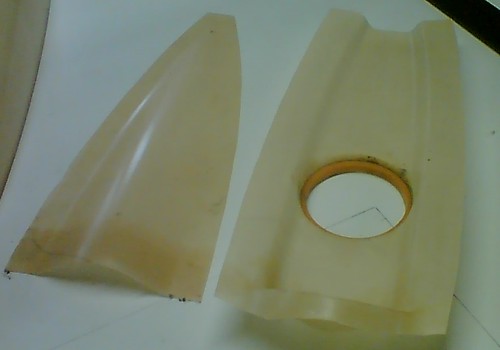
Here are the two deck mouldings. The aft deck has a round hole that will fit a Decor lid+rim (the lid Craig Smith uses on his Obsession. One lid+rim is supplied with the kit).


Fin and rudder from carbon fiber.


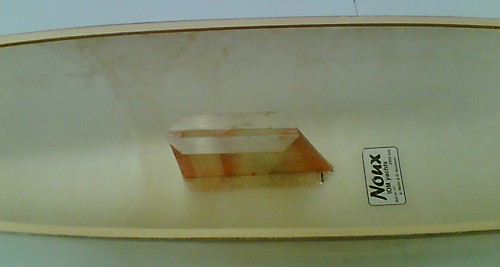
The kit also contains the fin/mastbox, but it's not attached so you will have to attach it yourself.

These are for sale as a kit. For the hull, the two deck mouldings, fin/mastbox (not attached!), rudder and fin I am asking 400 euros. Buyer pays shipping.

We also have an extra hull, just like the one above, but with no deck or anything additional. If anyone wants it they can have it for 100 euros.

Lead bulbs continue to be available from Olof Ginström for 35euros per bulb. Shipping heavy stuff is expensive, so you could try to meet me at a Nordic Cup event or the Marseille Worlds instead.

Noux building in Norway


Steinar from Norway sent me some more pictures of his Noux boats. He has completed the first boat (see below), and is now building a second one.


Another view of the spray-painting setup.


The bulb is home-made, cast in a plaster mould.


Here is Steinar's first boat, now completed and painted. I posted some building pictures earlier here and here.

Steinar asked if there is a Noux-logo. Sure! I just need to post it online in some common format. Stand by...

Compression strut for Gooseneck

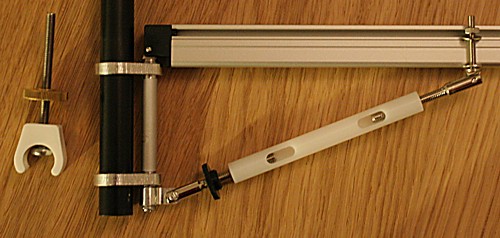
Two new parts for the gooseneck: a compression strut from Sails ETC, and a DIY mast-ram.

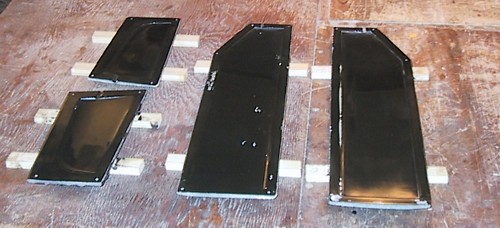
The compression strut fits the lower end of the gooseneck (bottom left), and if you bend it a little bit, it will fit a Sails ETC eyebolt too (far right) - which I plan to use on the boom. The mast-ram consists of a plastic fitting (Maritim) that grabs the mast, a stainless steel M4 bolt (I need to open the plastic fitting a little so the head of the bolt sinks into the plastic). A brass M4 thumbwheel (Ruuvikulma) provides adjustment.

Gooseneck prototype

We've been designing a ball-raced gooseneck for the new Noux boats. Jari sent me some pictures of his progress.


These pieces are mounted around the mast. There are two sizes, for either 12.4 mm or 11 mm Easton masts. The smaller hole is 6 mm in diameter and fits a flanged miniature ball bearing.

This piece goes on the bottom of the gooseneck axis. It has a raised ring towards the bearing, so that it makes contact only with the rotating part of the bearing.

Here's the first assembled prototype, with bearings fitted to the parts shown in the top picture. A 6 mm diameter aluminium rod forms the axis of the gooseneck. The rod is drilled and tapped with M3 threads in both ends. At the top, a Sails ETC flat eyebolt screws into the axis. At the bottom, the part shown above is secured with an M3 screw. We're hoping that the eyebolt at the top will fit the standard Sails ETC mainboom front end fitting.

We've not come to a final decision on a variable-length compression strut or kicking strap yet... The standard Sails ETC fitting works, but it attaches to a hole in the boom, which over time tends to corrode and wear into an oval shape. Bright ideas required 😉

Building IOMs around the world

People from all over the world keep sending me pictures of their Noux or other IOM projects - many thanks ! Here are a few recent ones:

Matt from Australia sent me these two pictures of his planking process:

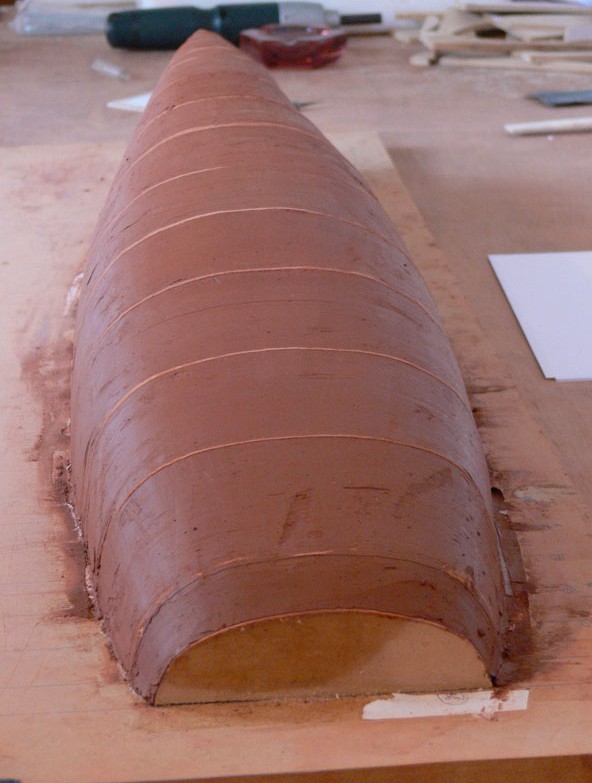
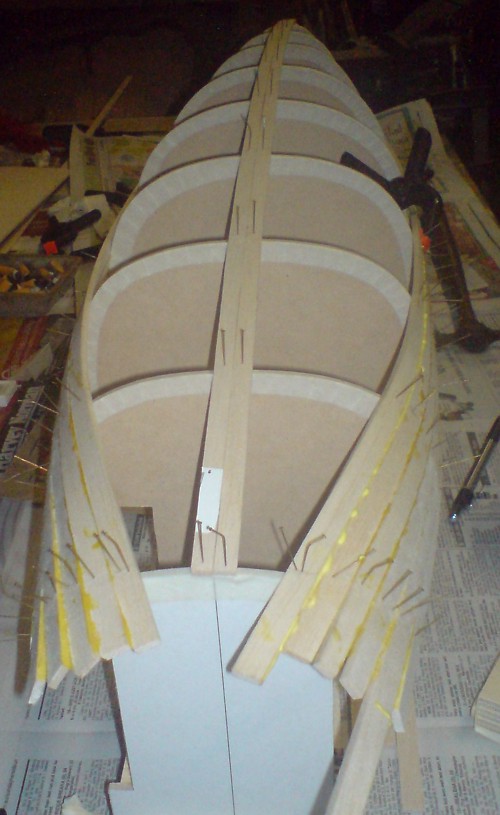
The next two pictures are by Boris from Switzerland who started planking in November and has now completed the hull:

Finally, Steinar from norway has made rudder and fin moulds for his Noux. These are made the old-fashioned way by hand, no cnc-machining...

That's it for now... stay tuned for some cnc electronics updates which I hope will happen soon, and we're also planning a ball-bearing gooseneck fitting for the Noux Mk2 which might be prototyped before next year.