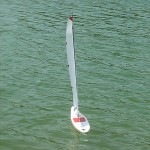
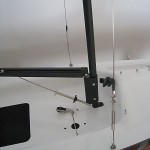
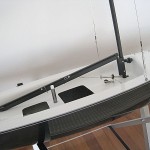
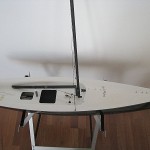
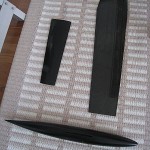
With a boat that had been assembled only three days before the event I sailed in the Finnish MicroMagic nationals that were held over the weekend in Tampere. 14 skippers is ok-ish, but with 70 registered boats I had hoped for an even bigger fleet.
Results here: http://fin.micromagic.info/index_files/SM_2009.htm
Category: Model Yachting
MicroMagic, FIN-70
I got my MicroMagic assembled and sailing three days before the big race which is in Tampere on the weekend.
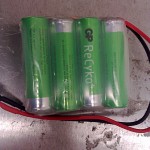
4-Cell GP Recyko battery packs
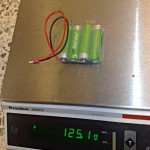
There is a new generation of low self-discharge NiMH batteries out there, GP calls them Recyko and the Sanyos are called Eneloop. I put together two 4-cell packs for use in the MicroMagic. These have a nominal capacity of 2050 mAh - I will post later some results of discharge tests. Weight seems to be around 125 grams including some epoxy that holds the cells together, the heatshrink tube, and wires with Deans micro plugs.
Spektrum DX5E antenna mod
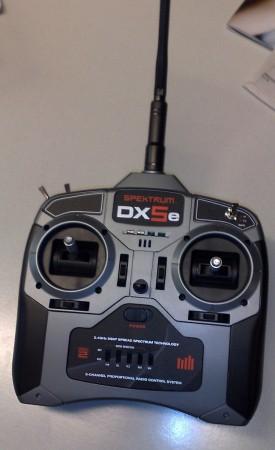
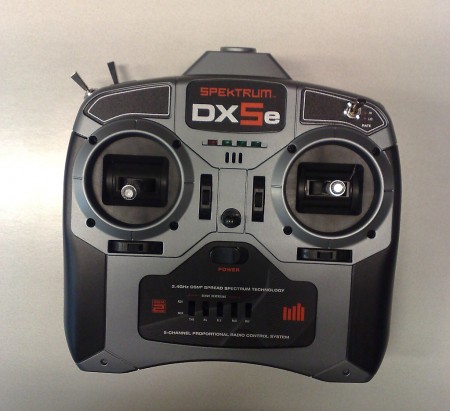
This is now my third 2.4 GHz radio after first having used a special module on the Futaba 3VCS, and then a Spektrum DX6 with the Noux (now sold). It's the cheapest model, a DX5E, which will be used with my newest boat (soon to be featured on this site...).
It seems the Spektrum engineers are not reading this blog too keenly, I suggested an internal antenna back in 2007. Even if the antenna is short I don't like it sticking out of the transmitter, so the first thing to do with the brand-new radio is to open it!
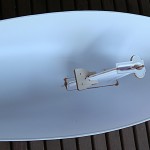
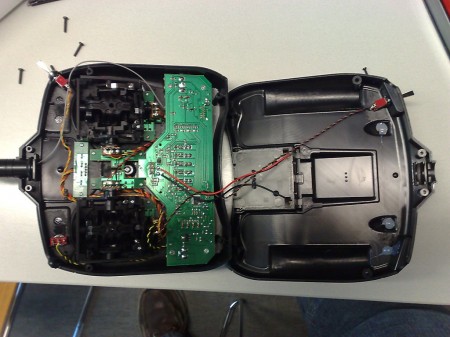
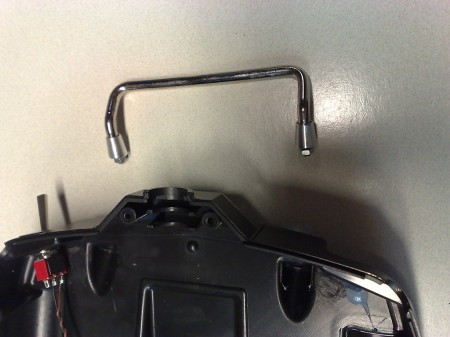
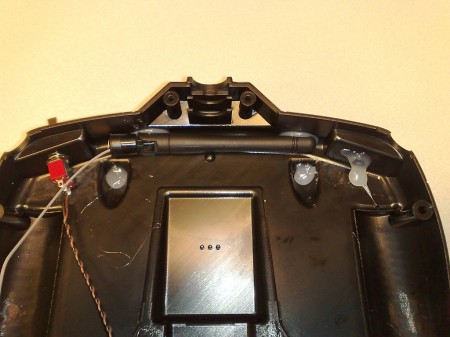
Here's how the transmitter looks opened. Note the small battery compartment which only takes 4 AA-cells (down from 8 in the early days and 6 on the older DX6). There's plenty of room for the antenna at the top of the transmitter, but just outside the top edge there's a metal carrying handle which I thought wasn't the best thing to have close to the antenna. So off it goes:
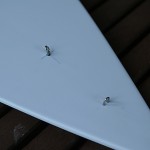
The handle detaches by opening two nuts on the inside of the case, after cutting a way some hot-glue which was used to secure the nuts.
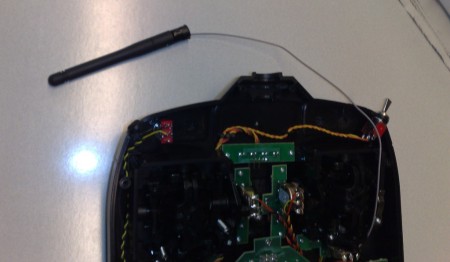
Then the antenna needs to be made a bit smaller. What sticks out of the transmitter is actually first an empty plastic tube which just extends the antenna itself a little further from the case. By cutting away the small plastic bits that prevents the antenna from rotating 360-degrees it all disassambles nicely, and I'm left with the narrow coax-cable and the antenna:
The antenna can now be hot-glued to the top of the back casing:
I've also applied some hot-glue to the holes where the handle was attached. Now all that remains is to close the case again, making sure that no wires are caught between the casing or screws:
And we have ourselves a Tx with an internal antenna! The way it should have been designed in the first place - if you ask me. What remains is to tape or plug the old antenna opening. Previously I've had no range or other problems whatsoever with this kind of arrangement, but naturally I take no responsibility if you try this and void your warranty and damage your transmitter.
A Noux65 from Bangkok
Phanchita Supasirithanawat (www.rcsails.com) from Bangkok Thailand sent me these pictures of a down-scaled Noux design built to the RG65 rules. It's called a Noux65.
There is a video here http://www.rcsails.com/noux65.htm
Mad Max comes to Finland
Riku and Lasse from the Turku-area IOM-fleet are proud new owners of Jeff Byerley designed Mad Max IOMs. These are the very first boats to come out of Mike Clifton's moulds in the UK. Note black main-boom, I hear it's about 10% faster than the standard aluminum-colored one!
MicroMagic 2009 ranking 3
The third ranking race of the year gathered 8 boats just outside Carusel in central Helsinki.
OpenFOAM 1.5 on Ubuntu 8.10
Although we have a general idea of how low Reynolds number foils, bulbs, and rudders should look like, we thought it would be fun to do some Colorful Fluid Dynamics to test different airfoils and configurations. It's likely that we will pick a well-known airfoil for the first set of foils and bulb for the Pikanto project, but if anything comes out of this computational analysis then cnc-machining new moulds is not a problem.
There are a lot of CFD software packages out there, some expensive and some hugely expensive. The most well known open-source alternative seems to be OpenFOAM. It's not as easy to use as the fancy commercial ones, but it's well supported by both academic and industrial users, and it's free! Some installation notes, mostly for myself, on how I installed Ubuntu 8.10 and OpenFOAM 1.5.
- download 64-bit Ubuntu 8.10 iso-file and burn to CD (8.04 did not want to boot on my Q9300 cpu machine, probably a motherboard conflict?)
- install Ubuntu as normal, run suggested updates (286 of them actually!)
- for OpenFOAM I roughly followed instructions from here: https://help.ubuntu.com/community/OpenFOAM
- download all the .gtgz files from here. Rename them to just .tgz so Ubuntu knows how to extract them
- run the bashrc magic with '. $HOME/OpenFOAM/OpenFOAM-1.5/etc/bashrc' followed by 'source ~/.bashrc'
- now in OpenFOAM-1.5/bin we can try './foamInstallationTest' which errors out because it doesn't find ssh or rsh (these are only needed for remote installations or cluster-calculations or similar I think)
- to make foamInstallationTest happy, install ssh: sudo apt-get install ssh
- now foamInstallationTest reports that all systems are go.
- paraFoam which is used for pre- and post-processing needs QT. I'm not sure which packages exactly are required, but mine started working after installing 'libqtcore4', 'libqt4-assistant', 'libqtgui4' and all of their dependencies. (I did this with the synaptic package manager)
- Ready!
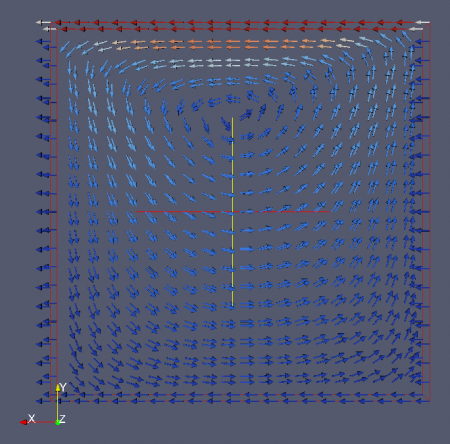
Try running the tutorial cases in e.g. ~/OpenFOAM/OpenFOAM-1.5/tutorials/icoFoam/cavity. This tutorial is explained in the docs here. Everything is set up already, so you only have to run blockMesh to generate the mesh, then icoFoam to do the actual calculation, and then visualize with paraFoam.
Helsinki Model Expo 2009
See also pictures and videos from past years:
- Model Expo 2008
- Model Expo 2007: day2, day3
- Model Expo 2006

