Extending AXIS with pyVCP

Maybe the most popular GUI for EMC is called AXIS. It shows a number of useful buttons, the 3D view, G-code file view etc. But depending on machine configuration and hardware, users might want to display different things on the screen and have customized controls. There's been some previous work on virtual control panels, or VCP. That was done in C using GTK widgets which I am not at all familiar with... I really want this kind of control panel for the new mill setup, so I've put together two Python programs that create Tkinter widgets that are connected to HAL pins. I call it pyVCP (Python Virtual Control Panel). Here's the first test from yesterday:
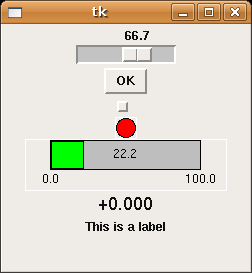

The uppermost widget is a slider that controls a HAL_FLOAT. Next is a button which sets a HAL_BIT true when pressed. The small rectangle is a checkbutton, which stays down when pressed, also for controlling a HAL_BIT. The status of a bit can be shown with a LED (red circle). HAL_FLOAT values can be indicated either by bars (green), or as a number.

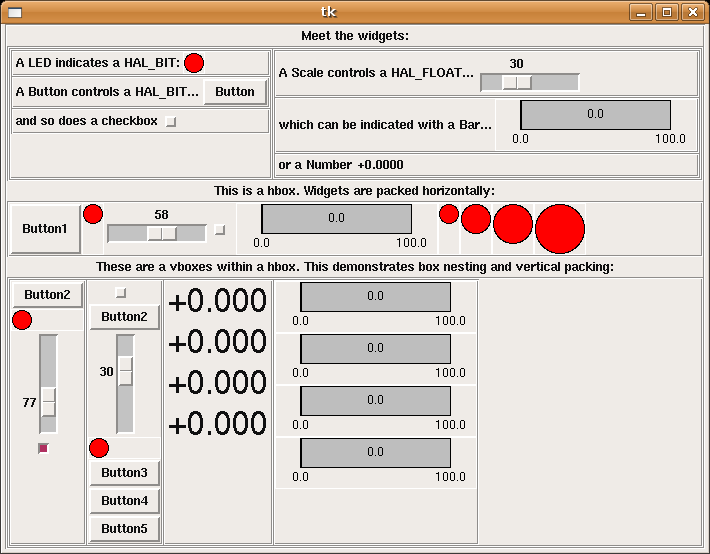
To enable users to individually configure their extra bells and whistles it makes sense to have a text file that describes the panel setup. The easiest way I found to read and write structured data in Python was XML. Here I've used a number of the different widgets and ways to pack them to demonstrate what's possible:

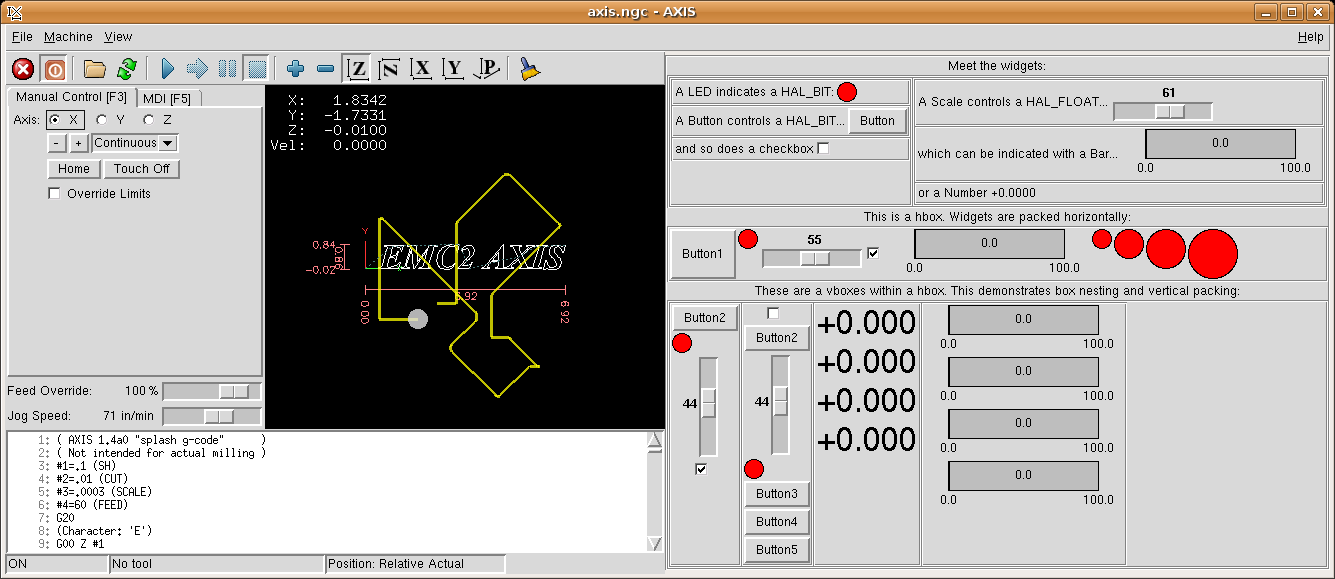
Finally the best part. Since AXIS is also written in Python/Tkinter, AXIS author Jeff Epler was quickly able to integrate my work with the current AXIS, so you can have your custom control panel right next to the familiar view:

There's a bit more (including source files) in the EMC Wiki, and the latest versions are committed to CVS.
Astrophoto test

I've made a first attempt at pointing my camera towards the night sky. Achieving good results is not an easy task - some people spend considerable amounts of time and money on the hobby of astrophotography ! (and the results are breathtaking)

Just a fun thing to do for me - for now... (they call it 'aperture fever' when you get hooked!)

Having read a little bit about wide-field astrophotography I experimented quite freely with different iso settings, exposure times, focusing etc. Out of about 70 pics, these are the better ones.
All of these are with my Canon 20D, shot from a stationary tripod with a cable release.


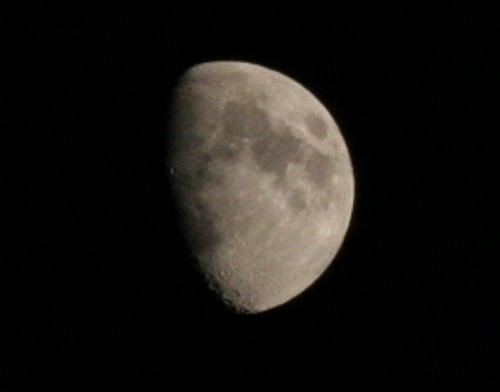
The moon shot at 200mm with a 70-200/F4L, stopped down to F22, shutter 1/160s and iso800. A ca 180% crop. I had the camera on program-mode, but it would probably have made sense not to stop down as much. The light-meter in the camera really does a bad job of metering in this kind of a shot. The only way to get the exposure right is to take lots of pictures with different shutter times. I really need to get that EF-mount adapter for the 500mm mirror tele-objective to get some nicer moon shots !


Ursa Major, partly hiding behind the trees. With 17-40/F4L at around 17mm, 10s exposure at F4 and iso1600. Click on the image for a full-screen version.


Polaris
in the middle. 17mm/F4, 30s exposure at iso800. Click image for a full-screen pic.

Next I suppose I will have to learn about dark-frame substraction, "barn-door" tracking mounts, stacking multiple exposures, etc. Anyone interested should check out Canon_DSLR_Digital_Astro and digital_astro, but beware of the message volume, up to 1000 per month !
The only problem with this hobby in Finland is that it's only dark enough during the winter - and on clear winter nights it tends to be really cold. (think remote-controlled "go-to" mount and laptop-operated camera from the livingroom sofa...)

DC Servos for CNC mill

In trying to keep with the KISS principle, I've decided that the AC servos are much too complicated and fancy for our CNC mill. I picked up these DC servos from the post today. They are 90 VDC servos with 1000-line encoders. I got them from Dan Mauch/Camtronics.

To further keep things simple, the idea is to directly couple the motor to a 2.5mm/rev rise ballscrew (HiWin, from metallstore.de).

This will give plenty of feedrate, the motors are rated at max 3000rpm which corresponds to 7500mm/min. I doubt we will need that much ! The lower end might be problematic, since motion could get jerky when there are not enough encoder counts coming in...

The motors are rated for 1.6 Nm of continuous torque. The maximum push force can be estimated using

F=2*pi*T*eff/L

where F is the force (N), T torque (Nm), eff efficiency (I've asumed 80%), and L the ballscrew lead. If I plug in these numbers I get a bit over 3000 N which should be enough.

Here is the US Digital 1000-line encoder. When counting each edge, we get 4x1000= 4000 edges per revolution, or 0.000625mm of movement for each count. We're aiming for about 0.01mm accuracy on final parts, which means the motion control needs to keep within a 16 count window (or +/- 8 counts) of the commanded position at all times.
The motors will be driven by PWM Servo Amplifiers from Jon Elson/Pico-systems. The PWM signal for the amps is generated by the M5i20 motion control card from Mesa Electronics. All of this is ofcourse controlled by EMC.

Building IOMs around the world

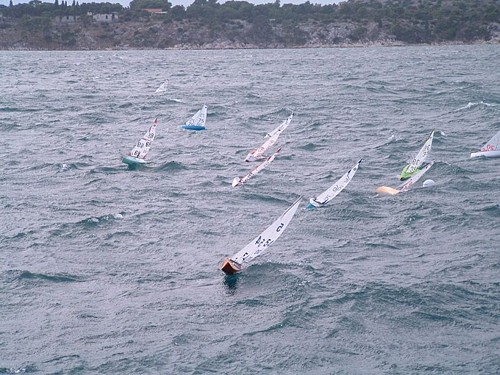
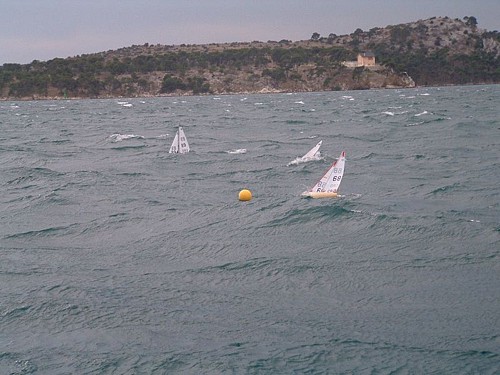
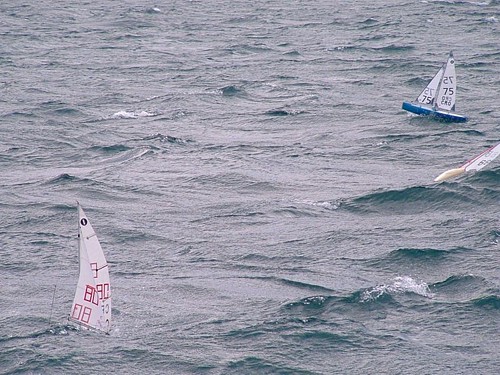
People from all over the world keep sending me pictures of their Noux or other IOM projects - many thanks ! Here are a few recent ones:

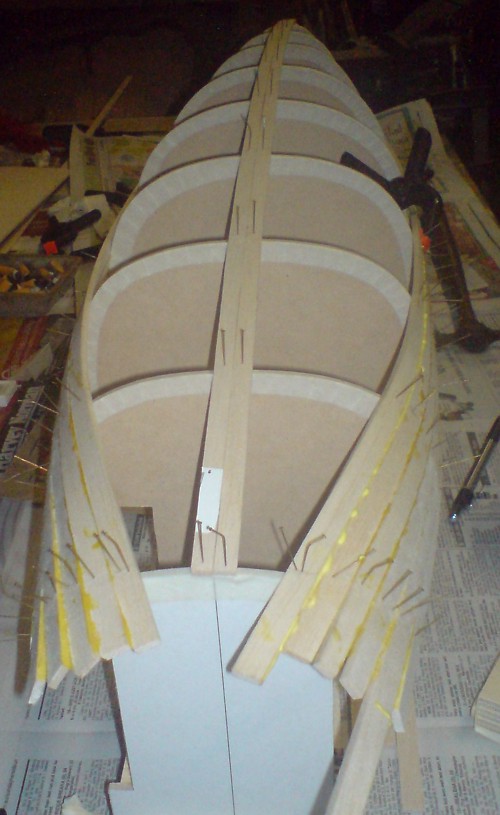
Matt from Australia sent me these two pictures of his planking process:

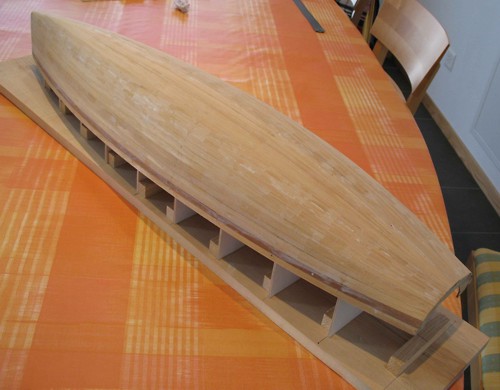
The next two pictures are by Boris from Switzerland who started planking in November and has now completed the hull:

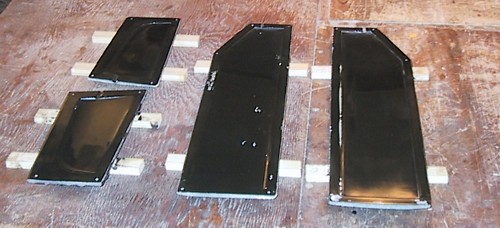
Finally, Steinar from norway has made rudder and fin moulds for his Noux. These are made the old-fashioned way by hand, no cnc-machining...

That's it for now... stay tuned for some cnc electronics updates which I hope will happen soon, and we're also planning a ball-bearing gooseneck fitting for the Noux Mk2 which might be prototyped before next year.

AC Servo Motors for Sale

I haven't magaged to find economical servo amplifiers for the AC servos I bought about a year ago. I'm now planning on using DC servos instead since amplifiers for them are more commonly available, which meanst that the AC servos are for sale. I've put them up on ebay:

one 1 kW Sanyo Denki P5 100VAC  brushless AC servo.

three 400 W Sanyo Denki P5 100VAC brushless AC servos.

Happy bidding !

New Spindle Installed

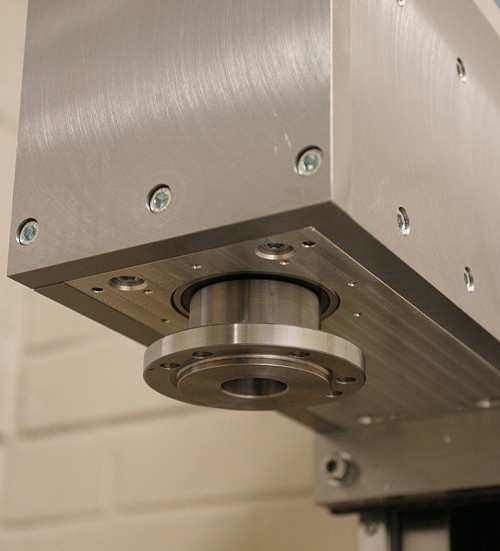
The new spindle for our cnc mill has now been installed. The aluminium plates holding the bearings are now supported by steel plates on all four sides. A bracket for holding the motor has been made, with elongated mounting holes for tensioning the belt. We're now using the Z-axis with linear rails and a ballscew, the conversion for the X- and Y-axes is still work in progress..

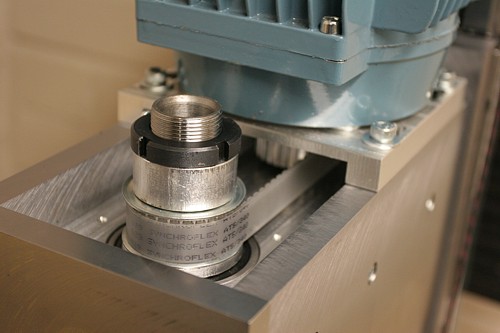
The spindle from below. We see the aluminium plate holding the lower bearing. We still need to fit a guard plate which protects the bearing from chips, coolant etc.

A major improvement over the old spindle is that the new spindle is belt driven instead of the gears we had on the old one. This reduces noise a lot, which makes running the machine for longer periods of time much more pleasant. The belt is a 1:1 ratio AT5 standard belt. The 750 W ABB induction motor we are using now does about 3000rpm, so for small tools (6mm or so) we are still lacking a bit in spindle rpm. The plan is to replace this motor with a 1 kW servo which will do 4500 rpm maximum, and could also be geared 1:2 since it will be driven by a closed-loop system and we can monitor the load on the motor.
 

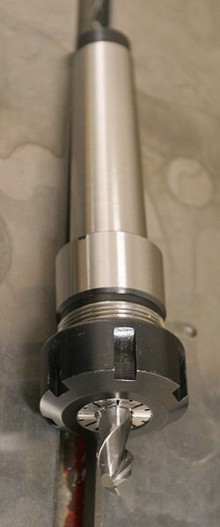
The spindle has an MT3 taper, and we're now using ER25 collet toolholders which hopefully will mean that we can input the tool length into EMC and not have to re-set the Z coordinate zero on every toolchange.

Preliminary tests show that the finish on milled surfaces has improved a lot with the new spindle. Face-milling now produces an almost 'mirror' finish, and milling with the side of an end-mill now produces acceptable surface quality when previously the finish was quite horrible... The real acid-test for our machine will come when we get the linear rails and ballscres installed for X and Y, and also convert the whole control to AC servos - then we should have a machine that can produce good quality parts at a reasonable rate.

Norwegian Noux News

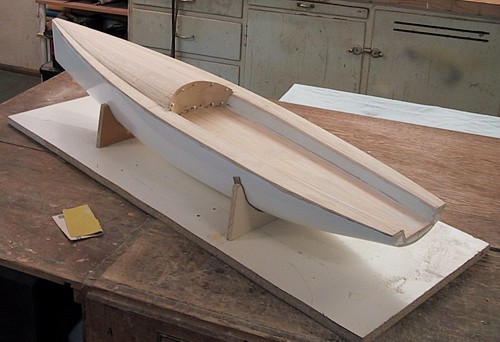
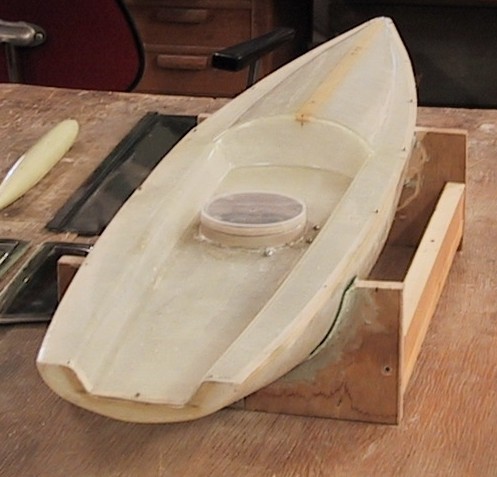
Steinar from Norway wrote to tell me about his Noux project. He started out building a planked wooden Noux (above), but it ended up too heavy, so instead a wooden plug was made (below)

Using this plug Steinar has now made a mould and moulded a few glassfiber Noux hulls. There's no standard deck solution for the Noux yet so Steinar has invented his own, with a central round hatch for access to the electronics.